Cutting line and bleed
In this guide we explain what bleed and trim lines are, what they are used for, and how to add them in InDesign, Illustrator and Photoshop.
When you want to print your business cards or flyers through a printer you will have to send him a PDF file. This file must be prepared in such a way that he can print and cut it to the right size. To make sure that the pdf document is the final result you want, there are two important points to pay attention to:
- cutting lines
- and sunken funds.
What are the cutting lines for?
The cut line represents the place where the blade will cut into the paper. They are printed with the document and show the printer exactly where to cut in order to achieve the desired result.
Most serious software offers an option to generate cut lines.
What is the purpose of a sunken fund?
Lorsque l’on souhaite qu’une illustration ou un arrière-plan aille jusqu’au bord de la feuille imprimée, il faudra forcément que l’imprimeur fasse une opération de coupe; sans quoi le document aura une bordure blanche tout autour. Pour pallier le problème il faudra faire déborder les visuels au-delà de la zone finale du document. C’est cette zone que l’on appelle le fond perdu car il sera imprimé puis coupé et donc “perdu” à la coupe.
It is the combined use of cut lines and bleeds that allows the control of the appearance of the final printed document.
Representation of the cut lines and bleed

Cutting lines: Added by the software, they indicate to the printer where to cut the document
Fond perdu : C’est la partie du visuel qui sera coupée et “perdue”. Le minimum est de 3mm – Nous préférons avoir 5mm
Page edge: Represents what will be the edge of the document after the cut
Safety margin: It is preferable to provide a safety margin inside the document to place important elements such as a logo or text. The cut may be slightly offset towards the inside of the document and may crop out elements placed too close to the edge.
Safety Zone: The area within the document that is safe from trimming during cutting.
Guide: How to insert the cut lines and bleeds in the main software programs?
Here is a short guide to exporting your pdf files properly for the printer to work on. All you have to do is send them to Copymage and you're done 😉
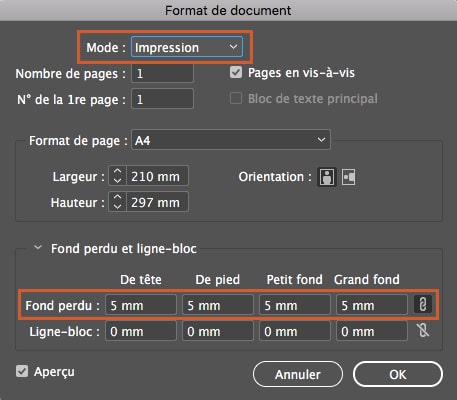
INDESIGN SETTING
When creating your document, make sure you are in Print mode. Put 5 mm in Bleed (More Options Menu > Bleed).
When your document is finished, export it (File menu > Export) in Adobe PDF format (printing) by checking the box for Cuts (Cues and bleeds > Cuts)

ILLUSTRATOR SETTING
Create your document in the format and add 5 mm of bleed (More Options Menu > Bleed)
When your document is finished, export it (menu File > Export) in Adobe PDF format (printing) by checking the box for Cuts ( Cues and Bleeds > Cuts)

PHOTOSHOP ADJUSTMENT
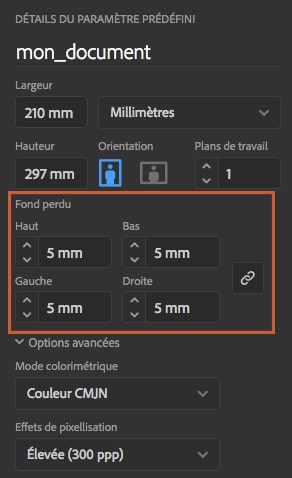
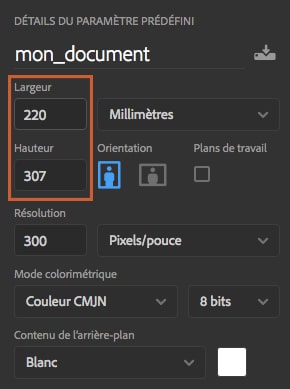
When creating your file, add 1cm (to get 5mm on each edge) to the final size of your document.
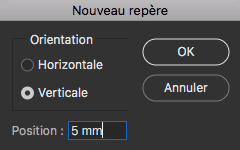
Then create markers (View menu > New marker) and enter the horizontal and vertical measurements in millimetres (mm).
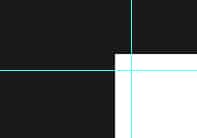
The markers will allow you to see a preview of your document as it will look when finished. Be careful to respect a safety margin by not putting any important elements within 5 mm of the markers. To finish, save your document (File>Save as) in Adobe PDF format without changing anything in the settings.
Discover our products to customise
Your prints available in 4 hours
Small or large quantity | Choice of papers


