Although digital is the main trend, paper media still make a very good impression on customers and prospects. Easy to read and large enough to hold a lot of information, the professional brochure is an effective option to present your organization or promote a product. Here are ten key steps to follow to create a professional brochure. create a professional brochureCreate a uniquebrochure that will help you turn prospects into customers.
Step 1: Define your target and your objective
The very first step in creating a business brochure is to define the target audience you want to reach through the distribution of this material, as well as the objective of this advertising campaign. Do you want to make your company known? Promote a product? Inform the public of an upcoming store opening?
With the answer to these questions, but also by learning about your target (its expectations, needs, values, etc.), you will be able to decide on the elements to highlight in your professional brochure, but also on the arguments to use to reach your audience.
Step 2: Choose the right software to create your media
There are many, many tools that can help you create a professional looking brochure: some are free, while others are paid and usually offer more features. If you wish, it is even possible to create your media via your Microsoft Office suite.
The ideal solution is to hire a professional graphic designer, who will be able to create your professional brochure using software like Photoshop or InDesign. However, if you don't have the budget, you can turn to free online software, such as the very popular Canva.
Step 3: Create a plan
If you have chosen to print a brochure rather than a flyer or a poster, it is certainly because you want to include a large number of elements. To organize the information in a hierarchy and make it easier for the reader to find his way around, we advise you to start by making a plan of your brochure.
To do this, write down the plan of the brochure, as well as the key elements to be included, whether in the form of text or illustrations (images, photos, graphics, etc.). This plan is the basis of your professional brochure and will be a great help to you for the rest of the project.
Step 4: Write the text boxes
If images are often more meaningful than text, the written content of your brochure is essential because it will allow you to present your company, your association, your products or the services you sell.
To ensure that you capture the reader's attention, we advise you to keep your paragraphs short, written in simple and easily understandable language. Also avoid acronyms or overly professional terms that could confuse or bore the reader.
Also think about adding catchy titles that allow you to see at a glance the content of each page: these titles must allow you to understand the content and especially to catch the reader's attention to make him want to read the rest.
Step 5: Choose illustrations
As mentioned above, images and illustrations are generally more meaningful than text, so they will help you get your message across more easily and effectively, provided they are relevant and well chosen.
Après avoir rédigé toutes les zones de texte de votre brochure professionnelle, nous vous conseillons donc de vous pencher sur la question des illustrations. Pour cela, sélectionnez des images de haute qualité et qui illustrent parfaitement votre message. Attention aux images hors sujets ou aux images trop “banales” “déjà vues” qui donneraient une image trop lisse et quelconque à votre brochure professionnelle et à votre marque.
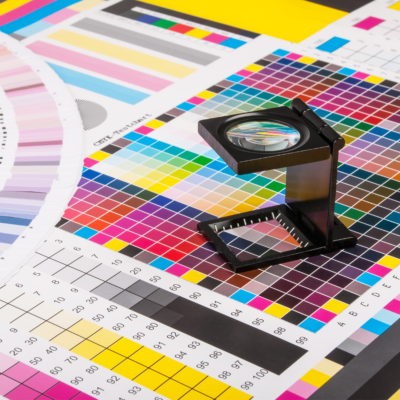
Step 6: Choose fonts and colors
Having a visually appealing but also perfectly readable brochure is essential to make your readers want to go through it completely, as well as to clearly convey the message you want to convey through this brochure. To do this, you must carefully choose the right fonts and colors.
To obtain a readable and harmonious result, we advise you touse two to three fonts at the most: one for the titles and subtitles, one for the paragraphs, and one for the captions or notes for example. For the colors, use elements consistent with your graphic charter and choose tone on tone.
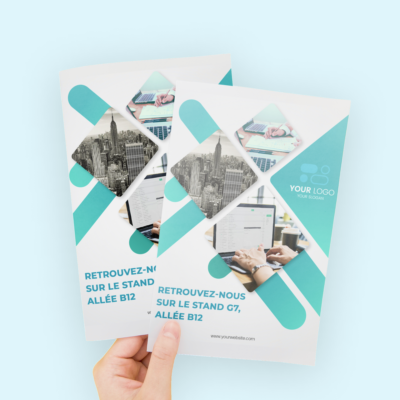
Step 7: Create the cover page and summary
The front page of your business brochure is at least as important as all the other pages, even if your brochure contains more than a hundred. Indeed, it is the cover page that will make your prospect want to consult the rest of the brochure, or else... to throw it in the trash!
Your cover page must therefore be attractive and coherent: your reader must understand in a few seconds what it is about, and what he will or will not find by reading the inside of your professional brochure. Also think about adding a summary or even tabs to guide them and avoid them getting bored looking for information in the middle of the pages.
Step 8: Create the layout of the professional brochure
Once you have all the necessary elements to compose your professional brochure (text, illustrations, cover page and summary), you can move on to its layout. To avoid monotony and to avoid boring the reader, the ideal is to alternate text and images.
Do not hesitate to use bulleted lists as much as possible, and to break up text areas into several paragraphs, separated by empty spaces or illustrations. You can also present certain texts differently, in inserts for example. This will help you to achieve a more digestible and less compact whole.
Step 9: Perform a final review
It may seem tedious, but this step is essential: the proofreading of your professional brochure should allow you to detect typos, errors and other layout problems that could taint the seriousness of your document.
Remember that once printed, your brochure cannot be changed, so proofreading is your last chance to perfect your material. If possible, don't hesitate to have your professional brochure proofread by a collaborator, who will be able to have a fresh and neutral outside view.
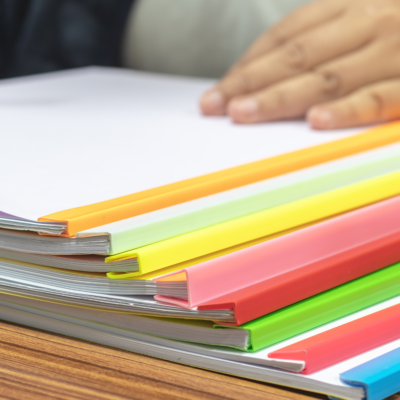
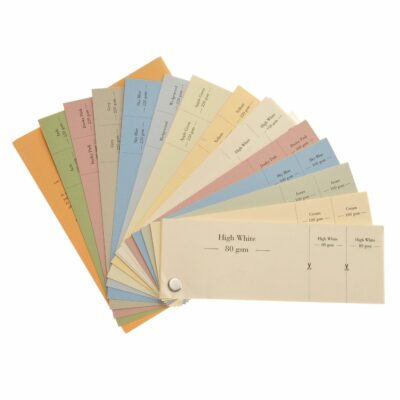
Step 10: Move on to printing and binding
That's it: your professional brochure is ready to be printed! By choosing a professional printer, you will be able to choose between several types of paper and binding, but also to personalize your cover page with options such as lamination to protect the document and give it a matte, glossy or silky feel or selective varnish for example, for a more upscale result.
Would you like to know more about the options we offer for bindery printing? Feel free to visit our website, or contact us with any questions you may have.